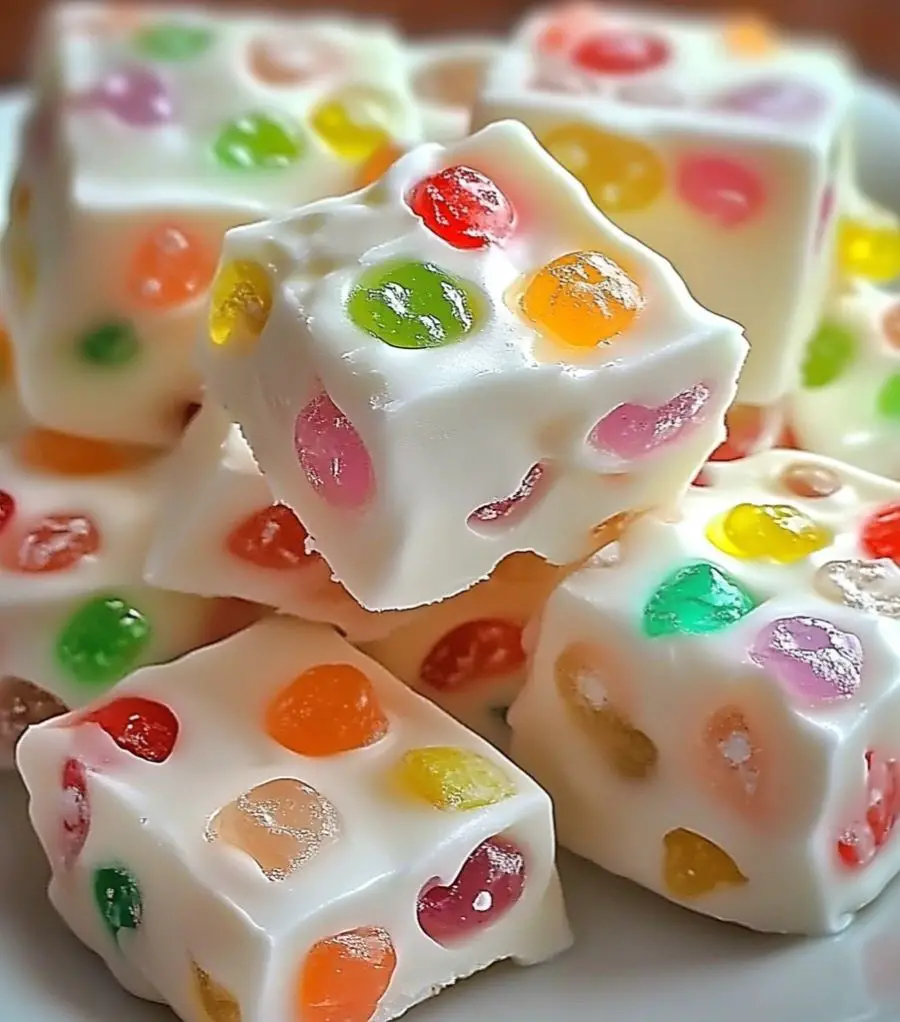
The Ingredients: Simple Yet Magical
The beauty of Jelly Nougat Candy lies in its simplicity. With just four ingredients, you can whip up a batch that looks and tastes like it came from an old-fashioned candy shop.
You’ll Need:
- 2 cups white chocolate chips: For the creamy, rich base.
- 2 tablespoons unsalted butter: Adds smoothness to the mixture.
- 1 package (10 oz) mini marshmallows: The key to that soft, chewy texture.
- 1 1/2 cups gummy candies (like gumdrops or jelly beans), chopped: These little jewels bring a pop of color and fruity sweetness.
My First Attempt: A Sweet Surprise
The first time I made these candies, I wasn’t entirely sure how they’d turn out. It was a chilly December afternoon, and I wanted something fun to make with my kids. Jelly Nougat Candy seemed perfect: easy enough for little hands to help, and festive enough to feel like a holiday treat. We gathered around the kitchen counter with our ingredients and got to work.
Step 1: Preparing the Gummies
The first task was chopping the gummy candies. My kids eagerly volunteered, wielding butter knives with glee. I watched as the colorful pieces piled up, each one like a little gem. The excitement in their eyes reminded me of how I used to feel as a kid whenever my grandmother let me help her in the kitchen.
Step 2: Melting the Base
Next, I melted the white chocolate chips and butter together in a large saucepan over low heat. The mixture turned silky and glossy, filling the kitchen with a sweet, creamy aroma. This was when I added the mini marshmallows, stirring patiently until they melted completely. The transformation was magical—the fluffy marshmallows dissolved into a smooth, velvety mixture that begged to be tasted.
Step 3: Combining the Magic
Once the base was ready, I removed it from the heat and gently folded in the chopped gummies. The colors swirled together beautifully, creating a mixture that looked as delightful as it smelled. My youngest declared it “candy art,” and I had to agree.
Step 4: Setting the Candy
We poured the mixture into a parchment-lined baking dish, spreading it evenly and pressing it down gently. At this point, the hardest part began: waiting. The candy needed to set at room temperature for a couple of hours, which felt like an eternity to my impatient little helpers.
The Taste Test: Pure Nostalgia
When the candy was finally ready, we cut it into squares and admired our handiwork. The little blocks of nougat were soft, chewy, and bursting with color. As I popped one into my mouth, I was instantly transported back to my grandmother’s kitchen. The creamy sweetness of the nougat paired perfectly with the fruity chewiness of the gummies, just as I remembered.
The best part? Seeing my kids’ faces light up as they took their first bites. My oldest said, “It tastes like happiness,” and I couldn’t have put it better myself.
Lessons Learned and Tips for Success
Making Jelly Nougat Candy was a fun and rewarding experience, but I did pick up a few tips along the way:
- Chop the Gummies Small: Smaller pieces distribute more evenly and make the candy easier to cut.
- Low Heat is Key: When melting the white chocolate and marshmallows, keep the heat low to prevent scorching.
- Be Patient: Letting the candy set fully is crucial for achieving the right texture. Resist the urge to cut into it too soon.
Storing and Sharing the Love
These candies store beautifully, making them perfect for gifting. Here’s how to keep them fresh:
- Storage: Store the candy in an airtight container at room temperature for up to a week.
- Gifting: Wrap pieces in cellophane or place them in festive tins to share with friends and family. They make a wonderful homemade holiday gift!
A Family Tradition in the Making
What started as a fun afternoon activity has turned into a beloved tradition in my house. Every year, my kids and I make a batch (or two) of Jelly Nougat Candy, and it never fails to bring smiles all around. It’s more than just a recipe—it’s a way to connect, create, and celebrate together.
Final Thoughts
Jelly Nougat Candy is more than a sweet treat; it’s a little piece of joy wrapped in nostalgia. Whether you’re making it to relive fond memories, start a new tradition, or simply enjoy something delicious, this recipe is a surefire way to brighten your day.
So grab your ingredients, gather your loved ones, and get ready to create something magical. Because sometimes, the simplest recipes make the sweetest memories.


